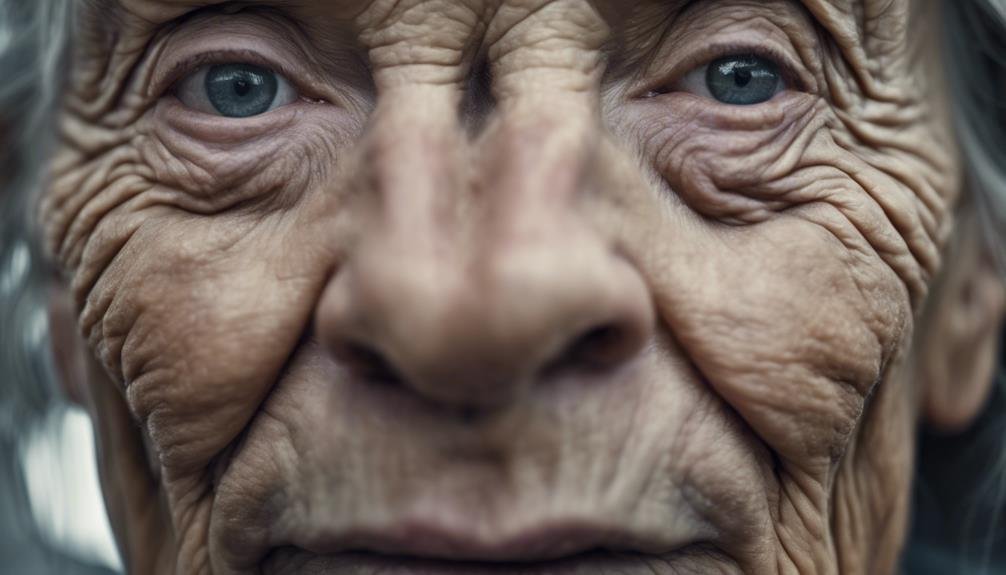
To paint wrinkles on a face, grasp facial anatomy first. Adjust brush pressure for texture. Use fine detail brushes and quality paints. Blend colors smoothly for realism. Shadows and light enhance depth. Study eyebrows and lip creases for emotion. Experiment with shades to capture wrinkles. Practice separately to refine technique. Mimic natural skin tone variations. Utilize reference photos for accuracy. Mastering wrinkle painting involves nuances. Remember, understanding facial anatomy is key for realistic results.
Key Takeaways
- Understand facial anatomy for realistic wrinkle placement.
- Use fine detail brushes for intricate texture.
- Blend colors for natural transitions and depth.
- Pay attention to light and shadow for realism.
- Practice on separate surface to perfect technique.
Understanding Facial Anatomy for Painting
To accurately capture wrinkles on a face in your paintings, understanding facial anatomy is essential. Facial proportions play a pivotal role in determining how wrinkles form and appear on different parts of the face. For instance, the forehead tends to have horizontal lines, while the eyes often display crow's feet wrinkles at the corners. Being aware of these variations helps in creating realistic and accurate depictions of wrinkles.
Furthermore, comprehending skin texture is crucial for replicating the fine lines and creases that develop with age. The smoothness or roughness of skin impacts how light interacts with it, influencing the visibility of wrinkles. By studying facial anatomy and skin texture, you gain insight into the depth, direction, and intensity of wrinkles, enabling you to paint lifelike portrayals with precision.
Reference photos of facial anatomy can serve as valuable resources in grasping these nuances and enhancing the authenticity of your artwork.
Choosing the Right Brushes and Paints
To achieve realistic and detailed wrinkle painting in your artwork, make sure to select fine detail brushes with varying sizes. These brushes will allow you to capture the intricacies of wrinkles with precision.
When choosing paints, opt for high-quality acrylic paints in skin tones for lifelike wrinkle effects. Experiment with different brush pressures to add depth and texture to the wrinkles, enhancing their realism. Additionally, consider using a palette for custom color mixing to match individual skin tones accurately. This customization will elevate the authenticity of your wrinkle painting.
To enhance your blending techniques, use water or acrylic medium to adjust the consistency of the paints. This will help you achieve smooth application on wrinkles, creating seamless transformations and natural-looking results.
Creating Realistic Wrinkles Around Eyes

For achieving a lifelike portrayal of wrinkles around the eyes, focus on capturing the delicate texture and depth of these fine lines. When painting wrinkles around the eyes, consider the following emotional cues:
- Eyebrow furrows: These subtle lines above the eyes can convey emotions like concern or concentration, adding depth to your portrait.
- Lip creases: The lines around the lips can suggest a range of feelings from joy to sadness, enhancing the expressiveness of your subject.
To bring these fine lines to life, focus on using soft blending techniques and subtle color variations. By understanding how light interacts with the skin around the eyes, you can create a realistic portrayal of crow's feet.
Remember that these wrinkles are often accentuated by facial expressions and muscle movements. Pay attention to the natural flow of these lines and the way they radiate from the corners of the eyes to capture a lifelike depiction in your painting.
Adding Depth With Shadow and Light
Achieve a realistic portrayal of facial wrinkles by mastering the interplay of shadow and light to add depth to your painting. Understanding how light sources interact with the aging process is vital when painting wrinkles.
Strong lighting with high contrast can help define the shapes and shadows of wrinkles on the face, enhancing the overall texture and appearance. By incorporating different shadow values such as the main shadow value, secondary shadow value, and pivotal value, you can create a three-dimensional effect that mimics realistic aging.
Utilizing gradation and shading techniques is essential for adding depth and bringing out the natural contours of the skin. When bridging the gaps between these shadow values, you enhance the depth and intricacy of the wrinkles, making them more lifelike.
Remember to add highlights and details strategically to further enhance the realism of the wrinkles and create a more dynamic portrayal of aging on the face.
Techniques for Painting Forehead Wrinkles

Start by identifying the direction and depth of forehead wrinkles in your reference photos to guide your painting technique. When capturing the essence of aging gracefully on your canvas, consider these techniques for painting forehead wrinkles:
- Experiment with different shades: Enhance the realism of your artwork by incorporating various tones of the base color to create depth and dimension.
- Use fine detail brushes: Achieve precise lines and subtle variations in shadow by utilizing fine detail brushes for intricate work.
- Gradually build up layers: Avoid overworking the canvas by slowly building up layers of paint to capture the natural texture of wrinkles.
- Blend colors smoothly: To evoke artistic expression and create a natural look, make sure that colors are blended smoothly to seamlessly integrate the wrinkles into your painting.
Blending Techniques for Natural Texture
Experimenting with a soft blending brush can enhance the natural connections between colors and tones in the wrinkles, achieving a realistic texture in your painting. When blending colors to create natural textures, consider color theory to understand how different hues interact.
Use gentle brush strokes to softly merge the colors, mimicking the subtle variations in skin tone. Pay attention to the direction of the wrinkles and adjust your blending technique accordingly to replicate the realistic flow of skin creases.
Incorporate layer opacity and blending modes to achieve a seamless shift between colors, adding depth and dimension to your artwork. By practicing blending techniques on a separate surface, you can refine your skills and master the art of creating lifelike textures in painted wrinkles.
Practice Tips for Mastering Wrinkle Painting

To master the art of painting wrinkles, practice on a separate surface to refine your technique before adding them to your portrait. This allows you to experiment freely and perfect your approach.
Use a fine detail brush with varying pressure to create realistic depth in the wrinkles. By adjusting the pressure, you can achieve a more natural and three-dimensional look.
Experiment with different shades of the base color to achieve varied wrinkles that closely mimic real skin textures. This helps in creating a lifelike portrayal of aging or expressions.
Study reference photos to understand the direction, shape, and depth of wrinkles for accurate depiction in your artwork. Observing real-life wrinkles will provide valuable insights into how to replicate them effectively.
Blend colors smoothly using color blending techniques to avoid harsh lines and guarantee seamless shifts between different values within the wrinkles. Smooth blending enhances the overall appearance and realism of the wrinkles you paint.
Frequently Asked Questions
How Do You Draw Realistic Facial Wrinkles?
When drawing realistic facial wrinkles, focus on capturing facial expressions through shading and texture. Highlighting adds depth. Use strong lighting for contrast. Remember to categorize shadows for main, secondary, and in-between values, and blend for smooth changes.
How Do You Draw Aging Skin?
To draw aging skin, focus on capturing the unique skin texture that evolves through the aging process. Utilize various drawing techniques to depict the intricacies of aging skin, allowing for artistic expression that showcases depth and realism.
How Do You Make Wrinkled Paint Art?
To create wrinkled paint art, experiment with brush techniques and shading. Use various skin tones for depth. Blend colors smoothly to avoid harsh lines. Practice layering gradually for realistic textures.
What Makes Paint Wrinkle Up?
When paint dries, wrinkling can occur due to environmental factors like extreme heat or cold. Changes in temperature and humidity impact the paint film, causing it to contract or expand rapidly, resulting in wrinkling.
Conclusion
To wrap up, mastering the art of painting wrinkles on a face requires a solid understanding of facial anatomy, the right tools, and practice.
By selecting the right brushes and paints, creating lifelike wrinkles, adding depth with shadows and light, utilizing blending techniques, and practicing consistently, you can achieve natural-looking results.
Remember to observe real-life facial features for inspiration and keep refining your skills to enhance the realism of your paintings.
With dedication and patience, you can become a master at painting wrinkles on faces.
