To paint faces in acrylic, start with essential colors like burnt sienna and yellow ochre. Mix them for lifelike skin tones. Add red for pink hues or blue for cool tones. Tone the canvas with yellow ochre and sketch facial features lightly. Use dark tones first, then progress to lighter shades for structure. Experiment with highlights and blending for depth. Build layers slowly for a 3D effect. Remember, mastering techniques is key. Ready to elevate your skills?
Key Takeaways
- Use burnt sienna and yellow ochre for realistic skin tones.
- Adjust hues with red for warmth and blue for coolness.
- Start with dark values and build up layers for depth.
- Utilize different brush sizes for details and blending.
- Highlight areas where light hits for a 3D effect.
Essential Colors for Skin Tones
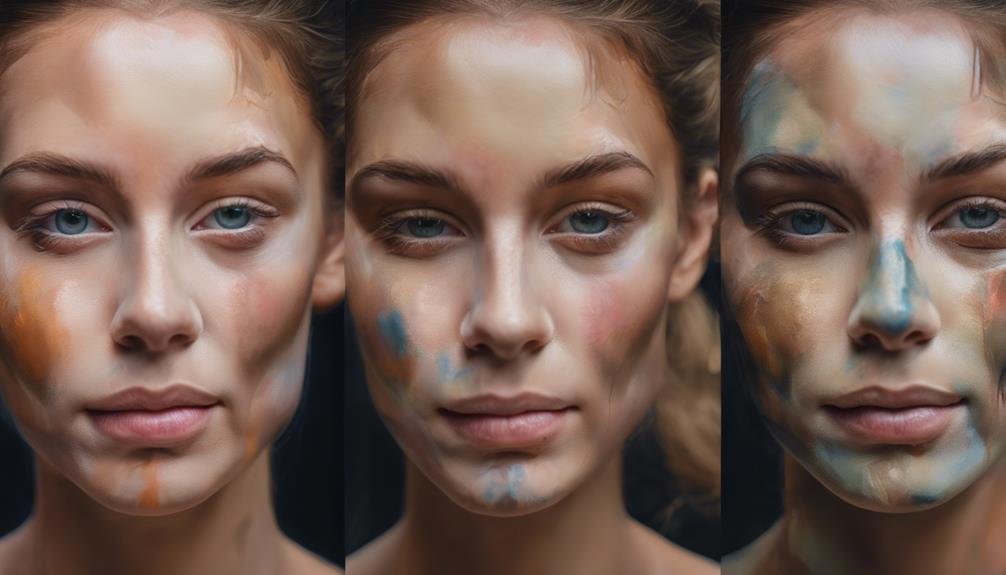
When painting faces in acrylic, the essential colors for achieving realistic skin tones are burnt sienna and yellow ochre. These hues serve as the foundation for capturing the diverse range of skin undertones. Through careful color blending, you can create lifelike portrayals by mixing equal parts of burnt sienna and yellow ochre. This combination is particularly effective for lighter complexions.
If you aim to introduce pinker tones into your subject's skin, consider incorporating a touch of red into your palette. For darker complexions, start with burnt sienna and gradually tint it with black, adjusting the mixture with white, red, or additional burnt sienna as necessary. To add depth and versatility to your skin tones, a subtle touch of blue can be included in your color palette.
Palette Setup and Mixing Techniques
Arrange your palette with essential colors like burnt sienna, yellow ochre, white, red, black, and blue to set the foundation for realistic skin tones when painting faces in acrylic. Understanding color theory is important for blending techniques.
Mix equal parts of burnt sienna and yellow ochre to achieve lighter complexions. Adjust the skin tones by adding red for a pinker hue or blue for cooler tones. For darker complexions, use burnt sienna tinted with black, and then adjust with white, red, or more burnt sienna as needed.
Creating texture and layering effects can be achieved by varying the paint thickness and using different brush strokes. Remember, toning the canvas with yellow ochre can help subdue stark white, providing a base for your portrait.
Experiment with mixing these colors to find the perfect skin tone for your subject, and don't be afraid to blend and layer to create depth and realism in your acrylic portraits.
Canvas Preparation and Facial Sketching

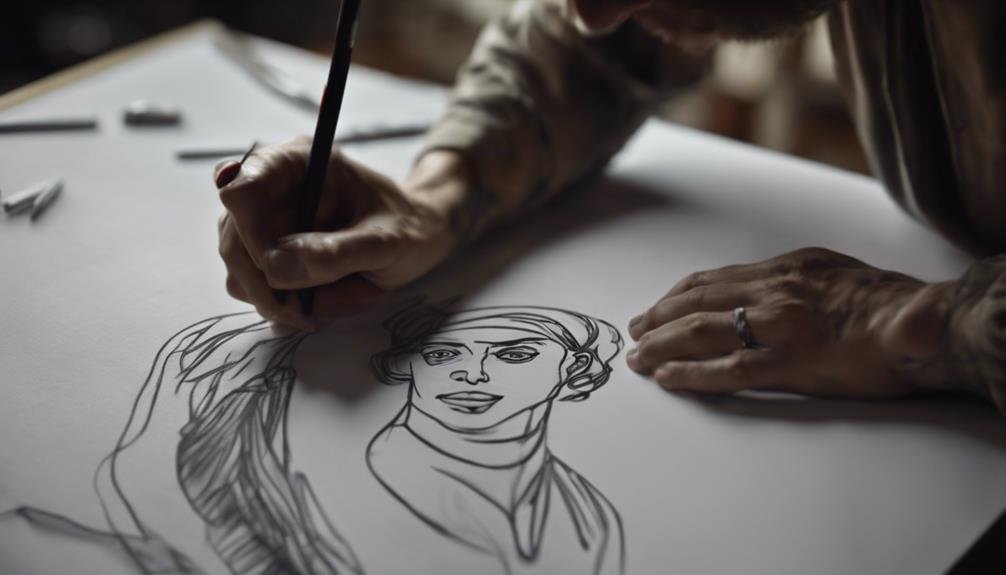
To prepare the canvas for painting faces in acrylic, start by toning it with yellow ochre to create a more essential background for skin tones. This helps subdue stark white backgrounds, providing a base that complements the colors used in skin tones. Color theory plays an important role in achieving lifelike portraits. When sketching the facial features, consider roughing them in with paint or colored pencil after the canvas dries. This initial sketch helps establish the placement of key elements such as eyes, nose, mouth, ears, and hair. Utilize the following sketching tips to guide your process:
| Sketching Tips | Description |
|---|---|
| 1. Start Light | Begin with light strokes to map out the basic shapes and proportions before adding more detail. |
| 2. Focus on Proportions | Pay attention to the relationships between facial features to guarantee accuracy in your sketch. |
| 3. Use Guidelines | Implement light guidelines to aid in placing features correctly and maintaining symmetry in the portrait. |
| 4. Adjust as Needed | Don't be afraid to make changes to your sketch as you progress, refining the details for a better likeness. |
Working With Tones and Brush Techniques
After outlining the facial characteristics and preparing the canvas, approach the process of painting faces in acrylic by focusing on working with shades and mastering brush techniques for enhanced lifelikeness. Begin by working from dark tonal values to lighter shades to build up the structure of the face. Utilize a large flat brush for initial coverage and switch to smaller brushes for adding intricate details, especially in illuminating the eyes to capture their essence.
Explore with layering shades to create depth and bring out the intricate details of facial features. When working on shades, squint your eyes to simplify values and identify tonal planes more clearly. This method helps in achieving better color precision and enhancing the overall composition. Integrate blending techniques to seamlessly merge different shades for a more natural appearance.
Remember to strategically place highlights to add dimension and vitality to your acrylic portraits of faces. Mastering these techniques will elevate the realism of your paintings.
Adding Depth and Highlights

To enhance the three-dimensional effect of your acrylic portrait, seamlessly blend lighter and darker shades to add depth and dimension to the facial features. Here are some tips to help you master the art of adding depth and highlights:
- Blending Tips: Practice blending different shades to create smooth changes between light and dark areas on the face. Use a soft brush and gentle strokes to blend the colors seamlessly.
- Light Placement: Identify the areas on the face where light naturally hits, such as the cheekbones, forehead, and bridge of the nose. Add highlights to these areas to accentuate the features and create a more realistic look.
- Layering Technique: Gradually build up layers of paint to enhance the three-dimensional effect of your portrait. Start with lighter shades as a base and gradually add darker tones to create depth and definition.
- Texture and Realism: Experiment with different brush strokes and techniques to add texture and realism to the skin. Pay attention to details like skin texture, wrinkles, and fine lines to make your portrait come to life.
Frequently Asked Questions
What Should I Do if I Make a Mistake While Painting a Face in Acrylic?
If you make a mistake while painting a face in acrylic, don't panic. Try blending techniques to soften the error. Use color mixing and layering techniques to cover it up. Correcting mistakes is part of the artistic process.
How Can I Ensure That My Acrylic Paint Doesn't Dry Too Quickly While Working on a Face?
To guarantee your acrylic paint doesn't dry too quickly while working on a face, try misting your palette with water or using a palette extender. These methods can help keep your paints workable for blending techniques and layering colors effectively.
Are There Any Specific Brushes That Are Best for Painting Facial Features in Acrylic?
When painting facial features in acrylic, the type of brushes you choose can greatly impact your work. Opt for fine detail brushes for precision and soft blending brushes for creating depth and highlighting shadows effectively.
How Can I Achieve a More Realistic Texture on the Skin When Painting Faces in Acrylic?
To achieve a more realistic texture on the skin when painting faces in acrylic, try experimenting with various blending techniques and understanding color theory. These elements can enhance the depth and lifelike quality of your portraits.
Is It Necessary to Use a Primer Before Painting a Face in Acrylic, and if So, What Type of Primer Is Best?
Before painting a face in acrylic, using a primer is crucial for a smooth finish. Opt for an acrylic gesso primer for improved adhesion. Apply it evenly, let it dry, and then start painting. These techniques guarantee a flawless result.
Conclusion
To sum up, painting faces in acrylic requires a good understanding of essential skin tone colors, effective palette setup, and mixing techniques. Proper canvas preparation and skillful use of tones and brush techniques are also crucial.
By adding depth and highlights, you can bring your portrait to life with realism and detail. Practice and patience are key in mastering this art form, so don't be afraid to experiment and refine your skills to create stunning portraits in acrylic.
