To paint a skeleton face, start with a clean, moisturized face. Apply white base with a sponge or brush, blending well and extending down your neck. Outline eye sockets and key features with black paint sharply. Fill in the face with precise black paint, ensuring an even and consistent layer. Blend black and white paints for shading, and use gray or silver highlights. Set the design with translucent powder for longevity. For more child-friendly tips and detailed guidance, keep exploring the step-by-step process provided. Enhance your skeleton face painting skills by mastering each step.
Key Takeaways
- Apply white base for skeleton face using blending techniques.
- Outline eye sockets, nose, and jawline with black paint.
- Fill in face with black paint evenly and set with powder.
- Blend black and white paint for shading and dimension.
- Set design with translucent powder for long-lasting finish.
Face Prep and Base Application
Before painting a skeleton face, make sure your face is clean and moisturized for a smooth application of the face paint. Properly prepped skin will help the paint adhere better and prevent patchiness.
Once your face is ready, apply a white base using a makeup sponge or brush. Make sure to cover the entire face for a skull-like appearance. Blending techniques are essential here; make sure to blend the white base well to create a seamless foundation for the skeleton face design. Extending the white base down your neck will provide a cohesive look if you're painting a full skeleton face.
When it's time to remove the makeup, remember to be gentle with your skin. Use a makeup remover that's suitable for face paint to guarantee a clean and safe removal process. Avoid harsh scrubbing, as this can irritate your skin. Taking care of your skin post-makeup is just as important as prepping it before painting on your skeleton face.
Outlining Eye Sockets and Features
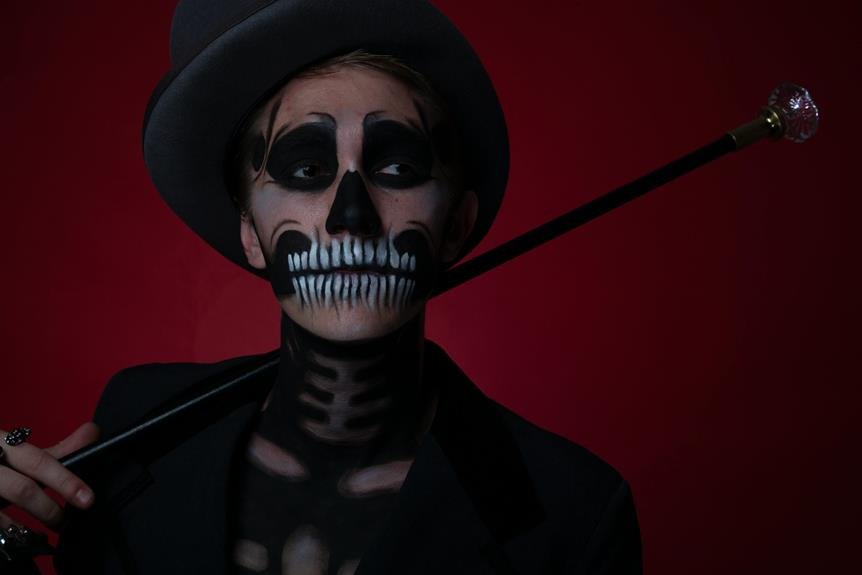
To accomplish a striking skeleton face look, start by outlining the eye sockets with black face paint for a hollow, skeletal appearance. This step forms the foundation for your design, creating the illusion of sunken eyes characteristic of a skull. Enhancing realism in your skeleton face involves adding intricate details to key areas. For the nose, consider incorporating a triangular shape or vertical lines to amplify the skeletal effect. Define the jawline with sharp lines or curves using black paint, mimicking the structure of a skull for added authenticity.
To guide you further, use the table below as a reference for outlining eye sockets and features:
| Area | Details | Tips |
|---|---|---|
| Eye Sockets | Outline with black paint for a hollow look | Blend for a seamless finish |
| Nose | Add triangular shape or vertical lines | Create depth for a realistic look |
| Jawline | Define with sharp lines or curves | Emphasize the skull structure |
Remember to make sure your outlines are crisp and well-defined to make your skeleton face design stand out effectively.
Filling in the Face With Black Paint

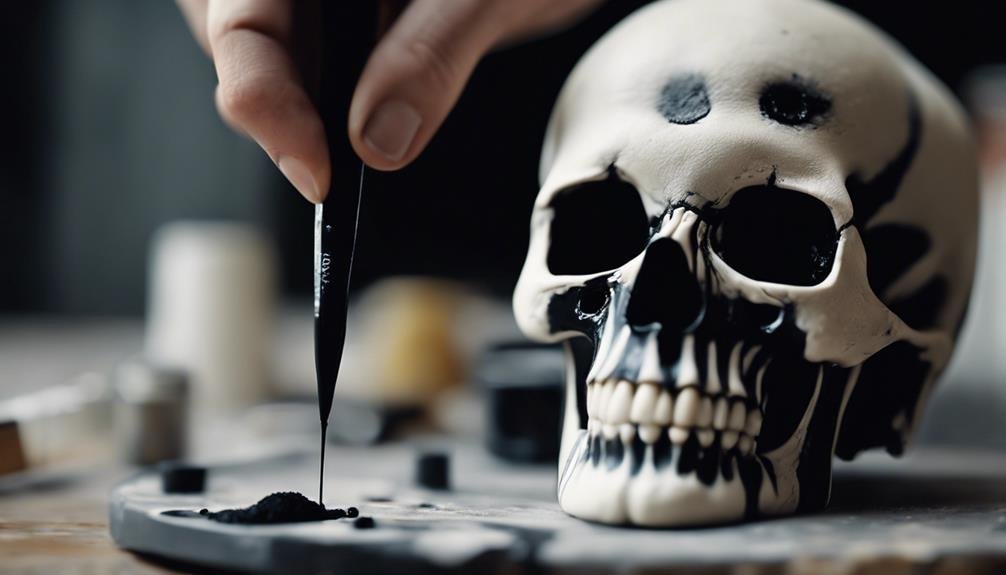
Consider using a fine paintbrush to meticulously fill in the eye sockets with black paint to achieve a hollow, skeletal appearance. This step is pivotal in creating the foundation for a convincing skeleton face. Make sure the brush selection is appropriate for detailed work, and maintain a steady hand to avoid smudges.
As you move on to the nose area, apply black paint to mimic a skull-like nasal cavity. Define the jawline with precision, enhancing the structure of the skeleton face. It's vital to cover the entire face evenly with black paint, using consistent paint consistency to avoid patchiness.
Setting the black paint with powder not only prevents smudging but also ensures your Halloween makeup lasts throughout the night. When filling in the face with black paint, consider blending techniques and shading tips to add depth to your skeleton look. By following these steps, you'll be on your way to a spook-tacular transformation!
Blending Colors and Adding Details
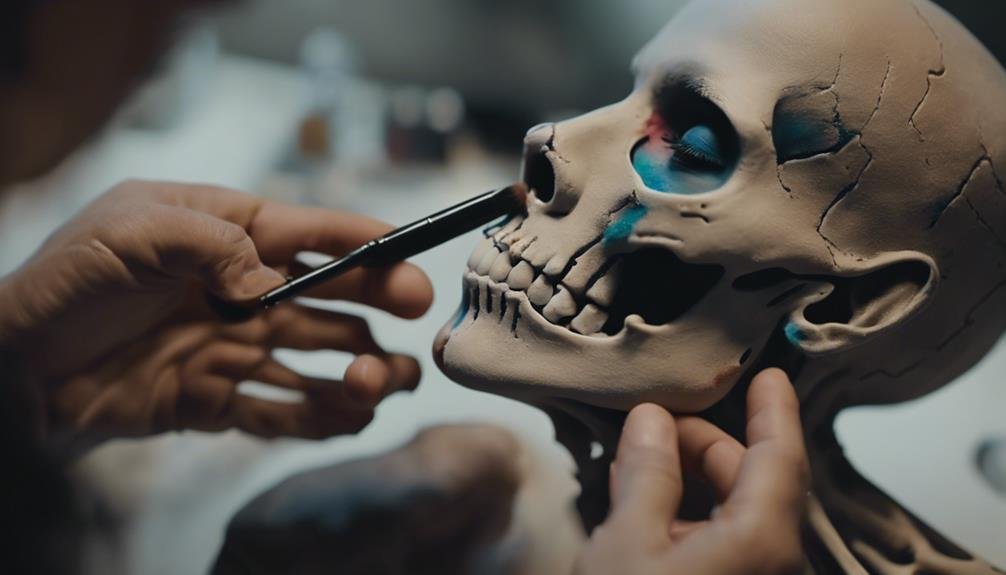
For creating a realistic skeleton face, blend black and white face paint with a fine brush to smoothly shift between colors. Utilize color mixing techniques to achieve the perfect shades for your design. Add depth and dimension by incorporating shading to create a more lifelike appearance. When adding details, consider highlighting techniques using gray or silver face paint to emphasize certain features of the skull. Experiment with various brush strokes to add intricate cracks and lines, enhancing the overall look of the skeleton face. Practice blending colors on your hand or arm before applying them to your face to master the technique. Below is a table to help you visualize the blending process:
| Color Mixing Techniques | Highlighting Techniques |
|---|---|
| Blend black and white face paint | Use gray or silver paint for highlights |
| Incorporate shading for depth | Experiment with different brush strokes |
| Practice blending colors smoothly | Add intricate details like cracks and lines |
Setting the Design With Powder

After blending and detailing your skeleton face paint, the next step involves setting the design with powder to enhance its longevity and prevent smudging. To guarantee your skeleton face paint stays put for hours, follow these steps:
- Choosing the right powder: Opt for a translucent setting powder that won't alter the colors of your design.
- Avoiding smudges: Gently pat the setting powder over the painted areas using a makeup sponge or brush to prevent any smudging throughout the day.
- Long-lasting results: Cover the entire painted area with setting powder to lock in the colors and ensure an even and long-lasting finish.
- Oil absorption: Setting the skeleton face paint with powder can also help absorb any excess oils on the skin, keeping your design intact for an extended period.
Child-Friendly Skeleton Face Painting Tips
To guarantee a safe and enjoyable experience for children, prioritize using non-toxic and hypoallergenic face paints when creating child-friendly skeleton face painting designs. When selecting face painting supplies, opt for products specifically designed for kids' sensitive skin to avoid any potential allergic reactions.
Remember to steer clear of painting near the eyes, mouth, or other sensitive areas to prevent irritation. Choose easy-to-remove face paints to make cleanup hassle-free for both kids and parents after the Halloween activities.
Encourage children to explore different skeleton face painting designs and let their creativity shine. Additionally, make sure there's adult supervision throughout the face painting process to provide safety and guidance.
Frequently Asked Questions
How to Do a Skeleton Face Paint Easy?
For simple skeleton face makeup, immerse yourself in Halloween face painting with confidence! Embrace creativity by beginning with a white base, then outline features with black paint. Remember to set with powder for a long-lasting, spooky look.
How Do You Draw a Skeleton Face on Your Face?
To draw a skeleton face on your face for Halloween, consider spooky designs like skeleton makeup. Get creative with face painting, exploring different Halloween ideas. Blend black and white paints for a bone-chilling look that will surely impress!
How Do You Contour a Skeleton Face?
To contour a skeleton face, focus on shading hollow areas with black paint and highlighting raised spots with white. Blend for contrast, emphasize sharp lines for bone structure, and set with powder for durability.
How Do You Make Easy Face Paint?
For a quick application, start with beginner-friendly techniques. Use non-toxic face paints for easy cleanup. Experiment with fun designs and patterns. Avoid sensitive areas like the eyes and mouth. Enjoy the creative process!
Conclusion
To sum up, painting a skeleton face can be a fun and creative way to add a spooky touch to your Halloween costume or party. By following the steps outlined in this guide, you can easily create a realistic and detailed skeleton design that's sure to impress.
Remember to take your time, practice blending colors, and set your design with powder for a long-lasting finish. Have fun experimenting with different details and techniques to make your skeleton face truly stand out!
