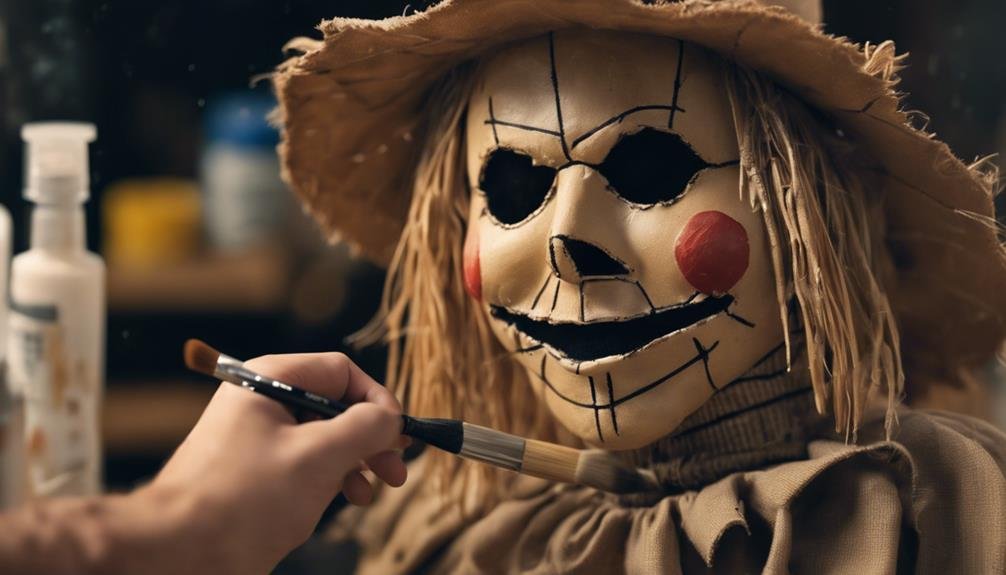
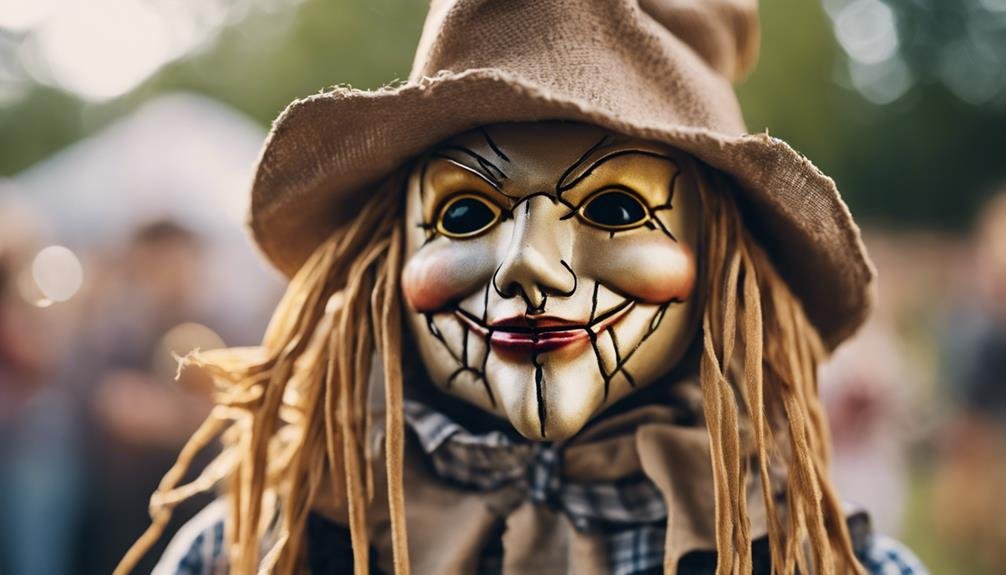
To paint a scarecrow face, start with yellow base on chin and orange on lips. Blend colors with circular motions for a seamless look. Add depth with brown eyeshadow around eyes and draw stitch details. Experiment with liner for intricate designs and Scarecrow lashes. Enhance cheeks with contrasting colors. Finish by blending cheeks and focusing on highlighted features. For precise detailing, use eyeliner strategically. Consider overlining lips and adding intricate cheek contours. Discover more tips and techniques to perfect your scarecrow face paint.
Key Takeaways
- Use yellow and orange star blends for a vibrant look.
- Apply base colors strategically for a scarecrow-inspired face.
- Incorporate intricate details like stitches and textures.
- Experiment with Scarecrow lashes and cheek contouring.
- Blend colors seamlessly and focus on highlighting features.
Supplies Needed
To start painting a scarecrow face, you'll need yellow and orange star blends for the design. Color selection is vital for achieving the vibrant and playful look of a scarecrow. Blending methods play a significant role in creating a smooth shift between colors on the face. Consider using a smoothie blender to mix the yellow and orange hues together for a harmonious effect.
For the orange color around the eyes, a fluffy eyeshadow brush works wonders in applying the pigment evenly. This tool helps make sure that the color is distributed smoothly without any harsh lines. To add depth and dimension, brown eyeshadow can be used for detailing and shading around the eyes, giving the scarecrow face a more realistic appearance.
When outlining features like the nose, a round brush is your best companion. Its precision allows for clean lines and defined shapes, enhancing the overall look of the scarecrow face. By carefully selecting your colors and mastering blending techniques, you'll be well on your way to painting an enchanting scarecrow design.
Preparing the Face
For best results when preparing the face for painting a scarecrow design, start by applying a yellow base on the chin. This will serve as the foundation for the vibrant colors that will bring your scarecrow face to life.
Next, consider your color choices carefully. Use orange shades on the lips to resemble lipstick, adding a playful touch to the overall look. Incorporate more orange around the eyes using a fluffy eyeshadow brush to create a vibrant and eye-catching appearance. Additionally, apply brown eyeshadow around the eyes to add depth and definition to the scarecrow design.
When it comes to blending techniques, make sure to blend the colors seamlessly to avoid any harsh lines or patches. Use gentle circular motions with your brushes to blend the different shades together for a cohesive and polished finish.
Applying Base Colors

Begin by applying the yellow base on the chin to establish a solid foundation for the scarecrow design. This step sets the tone for the rest of the face paint, providing a vibrant backdrop for the other colors to pop. For the lips, use an orange star blend to give them a playful, lipstick-like appearance. Enhance the eyes by applying more orange around them using a fluffy eyeshadow brush. This choice of color adds to the scarecrow theme, bringing out the whimsical nature of the design. Utilize brown eyeshadow to create depth and definition around the eyes, using blending techniques to achieve a more dramatic effect. Finally, outline the nose with a round brush to draw attention to the center of the face, completing the base colors of the scarecrow face paint.
| Blending Techniques | Color Choices |
|---|---|
| Feathering | Yellow |
| Smudging | Orange |
| Layering | Brown |
| Stippling | |
| Circular motions |
Adding Details
After establishing the base colors for the scarecrow face, you can now enhance the overall look by adding intricate details with a liner to create stitches and texture. Using your liner, carefully draw small stitches along the edges of the mouth and eyes to give your scarecrow face a charmingly patched-together appearance. Experiment with different texture techniques to add depth and character to the design, such as creating straw-like textures around the forehead and cheeks.
For creative embellishments, consider adding Scarecrow lashes to your scarecrow face. These lashes can provide a dramatic effect that elevates the overall look and makes your scarecrow appear more animated and expressive. You can also outline the cheeks with a contrasting color to make them stand out or slightly overline the lips for a more defined look.
Enhancing the Look

Consider incorporating Scarecrow lashes for a festive and dramatic touch to elevate the scarecrow face design. These lashes, inspired by traditional scarecrow aesthetics, can add a whimsical flair to your makeup look. Experiment with different makeup techniques to enhance the scarecrow inspiration, staying current with festive makeup and Halloween trends. Use eyeliner for intricate detailing, outlining the cheeks with a darker shade for added dimension. Overline the lips slightly for a bold effect, and try various lip lining techniques to achieve the desired look for your scarecrow face.
| Makeup Techniques | Scarecrow Inspiration | Halloween Trends |
|---|---|---|
| Eyeliner detailing | Traditional aesthetics | Festive makeup |
| Cheek contouring | Whimsical touch | Spooky themes |
| Lip overlining | Playful design | Bold effects |
Finishing Touches
For the final touch, carefully blend the colors on the cheeks to achieve a seamless finish for your scarecrow face painting. Utilize blending techniques to smoothly mix the chosen colors, ensuring a natural shift on the cheeks for a polished appearance. Consider color choices that complement the overall look, enhancing the vibrancy of your scarecrow design.
When adding highlights, focus on strategic placement to accentuate features such as the brow bone and cheekbones. This technique brings dimension to the face, creating a more lifelike scarecrow effect. Shading tips can be employed to add depth and definition, emphasizing different areas of the face for a dynamic finish.
To complete your scarecrow face painting, use a liner for intricate detailing that enhances the overall design. Consider adding Scarecrow lashes for a whimsical touch that elevates the look. Optionally, outlining the cheeks can help define the shape further, adding a finishing touch to your scarecrow face. Overlining the lips can also contribute to a bold and exaggerated effect that complements the scarecrow theme.
Frequently Asked Questions
How Do You Paint a Scarecrow Step by Step?
To create a scarecrow design, pick vibrant color choices for a fun look. Start by discussing the process step by step. Think about the design elements to make it visually appealing. Enjoy the creative process!
How Do You Make a Scarecrow Face?
To create a scarecrow face design, first, apply a yellow base for a solid foundation. Enhance with orange lipstick on the lips and blend orange eyeshadow around the eyes. Add brown shadow for depth. Use a brush for defining features using scarecrow makeup techniques.
How Do You Do Makeup for Scarecrow?
To create a stunning scarecrow makeup look, apply yellow base for straw accents, use orange tones on lips and eyes, add brown eyeshadow for depth, outline nose for definition, and finish with whimsical linework and cheek circles for a charming scarecrow design.
How Do You Make Easy Face Paint?
For a Halloween party or DIY costume, making easy face paint is simple. Grab a few basic colors, brushes, and sponges. Add some creativity, and you're ready to transform your look in no time.
Conclusion
Now you know how to paint a scarecrow face!
With the right supplies and step-by-step instructions, you can create a fun and festive look for your Halloween or fall decor.
Remember to prepare the face, apply base colors, add details, enhance the look, and finish with some final touches.
Get creative and have fun bringing your scarecrow to life with a few simple brush strokes!
