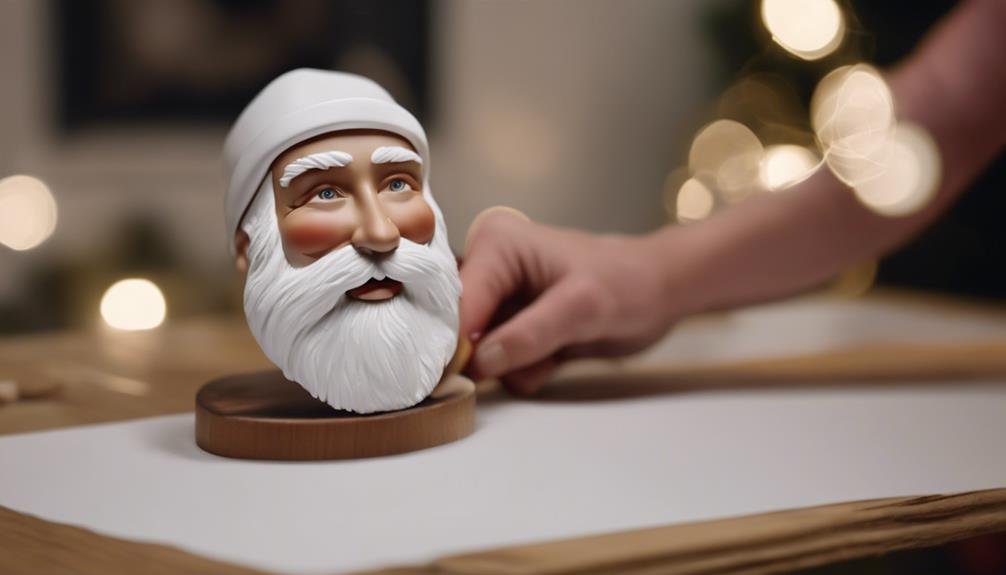
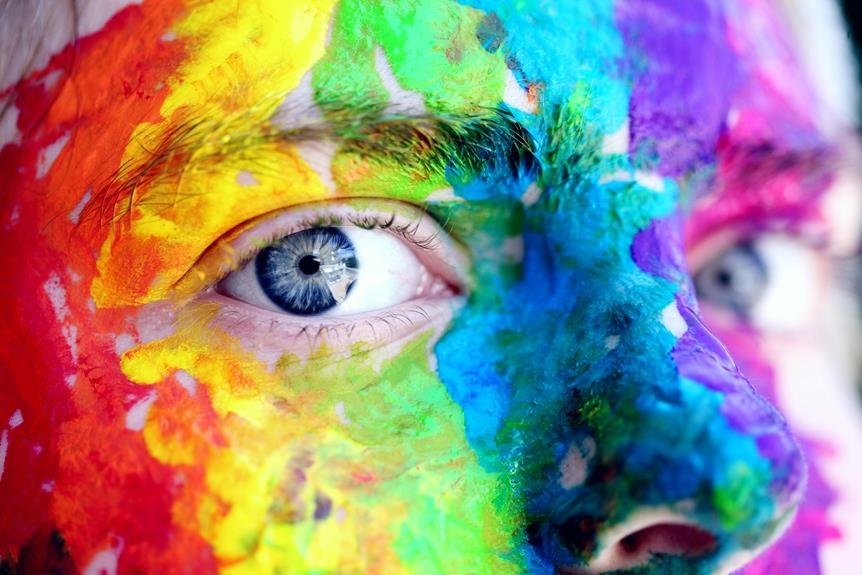
To paint a Santa face, first, gather your supplies like brushes, face paint kits, and sponges. Sketch Santa's features by outlining his eyes, nose, mouth, mustache, and rosy cheeks. Apply base coats with custom skin tones and mix colors for his iconic hat, jacket, and beard. Focus on detailing using a small brush for intricate work and add depth with shadows like black and brown. Emphasize skin tone for a realistic look by blending colors seamlessly and adding rosy cheeks. For the final details, pay attention to small features. Enhance your Santa painting skills for a festive masterpiece.
Key Takeaways
- Use fine brushes for intricate details and lifelike features.
- Mix colors for Santa's iconic red hat, jacket, and white beard.
- Apply dark shadows strategically for depth and realism.
- Blend colors seamlessly for a warm and realistic skin tone.
- Focus on precise lines, textures, and rosy cheeks for authenticity.
Supplies Needed
To craft a Santa face painting, you'll need to gather essential supplies for a professional and detailed finish. Brush selection is vital for achieving intricate details on Santa's face. Make sure to have brushes in various sizes to allow for precise painting.
The Rainbow Face Paint Kit and Adventure Face Paint Kit, priced at $14.85 each, offer a range of colors, including red, white, and black, which are necessary for creating Santa's iconic look.
Color mixing plays a significant role in capturing the perfect shades for Santa's rosy cheeks and bright hat. Utilize the sponge for blending colors seamlessly on the face, ensuring a smooth and natural shift between different hues. These supplies are key to following the 3-step guide to paint a Santa face with precision and creativity.
Sketching Santas Features
Begin sketching Santa's features by lightly outlining the eyes slightly above the middle of the face using ovals for a friendly appearance. Here's how to proceed:
- Eye placement, Nose shape: Position Santa's nose between the eyes, creating a small round shape with a slight curve. This will give Santa a classic and endearing look.
- Mouth positioning, Cheek color: Draw Santa's mouth right below the nose, forming a simple curved line for a cheerful expression. Don't forget to include his iconic white mustache below the nose with fluffy lines curving outward.
For the finishing touch, add rosy cheeks by placing two small circles on each side of the face. This will enhance Santa's jolly appearance and bring warmth to his face.
Applying Base Coats

Prepare your custom skin color and base coats for Santa's hat, jacket, glove, and beard to lay the foundation for the detailed Santa face painting. Start by mixing your custom skin color to apply to the facial area outlined in the painting.
For Santa's hat, jacket, glove, and beard, use red, brown, black, and white base coats. To guarantee a balanced color palette, blend gray into the white elements and create gradients by mixing a light tan for the beard.
When applying the base coats, consider using the stippling technique for the red sections to add texture and depth to your painting. Blending colors seamlessly and creating smooth gradients will help achieve a professional look for your Santa face painting.
Focusing on Detailing
As you move on to detailing, focus on using a small brush to add intricate features like Santa's eyes, eyebrows, and wrinkles for a realistic appearance. Here are some tips for mastering the art of detailing:
- Detailing Techniques: Employ fine brushwork to capture the nuances of Santa's facial features, ensuring a lifelike portrayal.
- Fine Brushwork: Utilize a delicate touch with your brush to create precise lines and textures, such as the softness of Santa's beard or the twinkle in his eyes.
- Attention to Eyes: Pay special attention to Santa's eyes, as they're often the focal point of the face. Add depth and expression by carefully painting the pupils and highlights.
- Wrinkles and Furrows: Use controlled brushstrokes to depict wrinkles and furrows on Santa's forehead and around his eyes, conveying a sense of age and wisdom.
Adding Depth and Shadows

To enhance the realism of your Santa face painting, skillfully incorporate dark shadows around key areas like the eyes and under the hat. These shadows are vital for creating depth and dimension in your artwork. When selecting colors for your shadows, consider using a mix of black, brown, and red tones to add richness and realism to the facial features. Pay close attention to the direction of light in your painting to determine where shadows naturally fall, enhancing the three-dimensional effect.
Utilize blending techniques to smoothly shift between the shadowed areas and the lighter areas of the face. By gradually building up the shadows and blending them carefully, you can avoid harsh lines and achieve a natural, lifelike appearance. Focus on strategic placement of shadows, such as around the cheekbones and nose, to add depth and bring your Santa face painting to life. Remember, a light touch and thoughtful blending are key to creating a visually engaging and realistic portrayal of Santa's face.
Emphasizing Skin Tone
Emphasizing Skin Tone in your Santa face painting involves skillfully blending colors to achieve a realistic and warm complexion that complements the facial features. To enhance the skin tone effectively, consider the following:
- Blending Techniques: Use a bristle brush to create soft skin texture and blend colors seamlessly for a lifelike appearance. This technique helps in avoiding harsh lines and achieving a smooth shift between different shades.
- Color Choices: Select colors wisely to create a warm and inviting skin tone for Santa. Incorporate rosy hues for the cheeks to give a youthful and festive look, while balancing dark shadows with highlights for depth and dimension.
- Adding Rosy Cheeks: Enhance the facial features by adding rosy cheeks to bring out the warmth and character of the Santa design. This touch of color can make the face look vibrant and lively.
- Strategic Use of Dark Shadows: Apply dark shadows strategically using black and brown paints to create depth and dimension on the face. This helps in achieving a harmonious skin tone and ensuring a realistic portrayal of Santa Claus.
Final Touches and Finishing Details

For achieving a lifelike and enchanting Santa face painting, focus on meticulously adding the final touches and finishing details with intricate precision and attention to detail. Use a medium brush to delicately enhance Santa's features, hat, jacket, and beard, bringing a realistic appearance to your painting.
Establish outlines and shades on Santa's face by blending skin tone, brown, red, and black colors based on the light source's direction. Seamless shifts between shades and skin tones will elevate the realism of your Santa face painting. Apply highlights and textures with light brush strokes to breathe life into your artwork. Utilize highlight techniques to accentuate certain areas and add depth.
Guarantee a balanced composition by incorporating festive embellishments and refining final details to achieve a cohesive and alluring Santa face painting that exudes holiday cheer.
Frequently Asked Questions
How Do You Paint a Snowman's Nose?
When painting a snowman's nose, start with an orange carrot shape at the center of the face. Add a playful angle for expression. Use orange face paint or mix red and yellow. Highlighting and shading around the nose enhances realism and complements rosy cheeks.
How to Paint Christmas Tree?
To paint a Christmas tree, start with shades of green and brown. Lighter colors go on top, darker at the bottom. Add ornaments, lights, and a star. Vary branch lengths for depth. Finish with snow or glitter for sparkle.
Conclusion
To sum up, painting a Santa face requires attention to detail and patience. By following the steps outlined in this article, you can create a festive and realistic Santa face painting. Remember to start with sketching Santa's features, applying base coats, focusing on detailing, adding depth and shadows, emphasizing skin tone, and finishing with final touches.
Practice and experimentation will help you improve your technique and achieve the desired results. Have fun and happy painting!
