To face paint a cat face effectively, start by applying a white base for vibrant colors. Pay close attention to the placement of features like the eyes, nose, and mouth. Blend colors seamlessly using a sponge for a flawless finish. For dimension, try split cake paint and an angled brush. To make it realistic, master blending techniques. Opt for water-based paints for safety and select vivid colors. Follow step-by-step tutorials, add details like whiskers and pink dots. Utilize split cake paint and angled brushes for fur patterns. Enhance ears with thin outlining and blend colors well. Experiment with different brush types. Mastering these techniques will help you achieve a lifelike cat face.
Key Takeaways
- Start with white base for vibrant colors
- Use split cake paint for dimension
- Employ blending techniques for realism
- Add features like nose and whiskers
- Utilize thin brush for detailing
Cat Face Painting Basics
To start painting a cat face, begin by applying a base of white paint to establish a blank canvas for your design. This step guarantees that the colors you apply on top will stand out vibrantly.
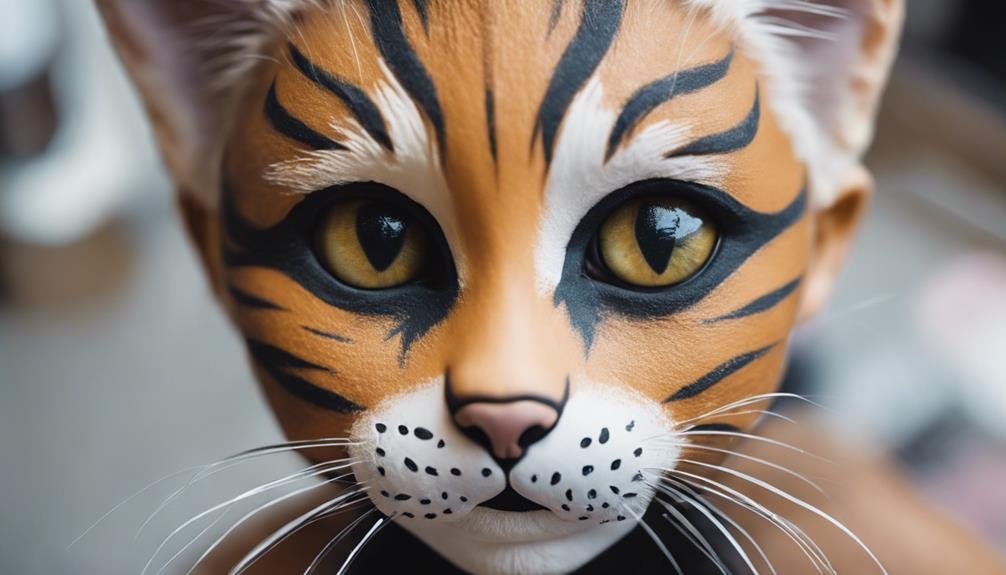
When focusing on cat face proportions, keep in mind the placement of features like the eyes, nose, and mouth to capture the essence of a feline. Utilize blending techniques by using a sponge to fill in the center of the face with color and gently merge the edges for a seamless shift. This method helps create a smooth and professional finish to your cat face painting.
Additionally, consider the use of split cake paint with an angled brush to add dimension to the ears and fur, enhancing the overall look of your design. By mastering these blending techniques and paying attention to cat face proportions, you can create a realistic and enchanting cat face painting that will impress your audience.
Choosing the Right Paint Supplies
When preparing to paint a cat face, make sure you have the appropriate paint supplies to achieve a professional and vibrant look. To guarantee paint quality and skin safety, opt for water-based face paints that are non-toxic and hypoallergenic. These paints are gentle on the skin and easy to apply and remove.
Look for vivid and opaque colors like black, white, pink, and grey to create different cat face designs with improved coverage and color intensity. Choosing face paint kits that include brushes, sponges, and stencils can help you achieve detailed and professional-looking results. These tools allow for precision and creativity in your cat face painting.
Step-by-Step Cat Face Painting Tutorial

For a striking cat face painting, start by applying a base of white paint on the sponge to achieve a seamless look. Use split cake paint with an angled brush to create a gradient effect on the cat's ears, moving smoothly from thick to thin. Different brushes serve specific purposes: opt for thin brushes for outlining features and fluffy brushes for blending and adding depth to the design. To add features like the nose, use black paint; whiskers can be drawn with a liner brush, and pink dots can provide extra detail to enhance the cat face. Complete the look by outlining the lips with black paint, ensuring balance through blending, and adding final touches such as more pink dots for a polished finish.
| Cat Face Paint Variations | Tips for Beginners | Cat Face Paint Inspiration | Creative Designs | Tools Needed |
|---|---|---|---|---|
| Use different color schemes to create unique cat faces | Start with simple designs before progressing to complex ones | Look at real cats or illustrations for ideas | Experiment with patterns and textures | Sponge, angled brush, liner brush |
Adding Details and Features
Enhance the cat face painting by delicately outlining the ears with a thin brush to create a wispy effect, blending for depth, and adding pink dots for detail. To further elevate the look, consider the following steps:
- Color Blending: Use a fluffy brush to blend the outlined ears seamlessly into the rest of the face, creating a natural shift and enhancing the three-dimensional aspect of the design.
- Highlight Placement: Introduce highlights strategically on the ears to mimic light reflection, adding depth and realism to the cat face painting. Focus on areas where light would naturally hit, such as the top edges of the ears.
- Pink Dots and Markings: Incorporate small pink dots and markings around the ears and face to bring the cat design to life, paying attention to symmetry and balance for a polished finish.
- Final Touches: Complete the look by adding whiskers using a liner brush, outlining the bottom lip with black paint, and ensuring all details are cohesive and harmonious. By following these steps, you can achieve a detailed and enchanting cat face painting.
Techniques for Realistic Cat Face

To achieve a realistic cat face painting, consider utilizing split cake paint with an angled brush to create lifelike fur patterns on the cat's ears. Blending techniques are important for achieving a smooth shift between colors, especially when creating realistic fur patterns. Use a thin brush for outlining features like the ears and whiskers to add depth and detail to the design. When blending colors like pink and white, fluffy brushes can help create a soft and realistic effect on the cat's face. Incorporating black paint to define the nose and muzzle is essential; employ blending techniques to guarantee a more lifelike appearance. Additionally, strategically placing pink dots and markings can enhance the overall realism of the cat face painting design.
| Techniques | Description |
|---|---|
| Split Cake Paint | Use with angled brush for lifelike fur patterns on cat's ears |
| Blending Techniques | Ensure seamless color changes for realistic fur patterns |
| Thin Brush Outlining | Add depth and detail to features like ears and whiskers |
| Fluffy Brushes | Blend colors like pink and white for a soft and realistic effect |
Final Touches and Blending
When finalizing your feline face painting, focus on perfecting the blending of colors and adding defining touches to bring the design to life. Here are some tips to help you achieve a polished look:
- Blending Tips: Use blending techniques to seamlessly incorporate the black paint used to outline the bottom lip. Blending will help create balance and a smooth shift between different colors on the face.
- Color Scheme: Make sure that the color scheme you've chosen for your feline face painting is cohesive and complements each other. Pay attention to the contrast between the base colors and the accent colors to make the design pop.
- Highlighting Techniques: Add additional pink dots and markings strategically to highlight certain features of the feline face. These details can enhance the overall look and add a playful touch to the design.
- Finishing Touches: Complete the one-stroke feline face painting by adding final touches that refine the details and overall appearance. These finishing touches will elevate your creation and give it a professional and polished finish.
Sharing Your Cat Face Paint Creation

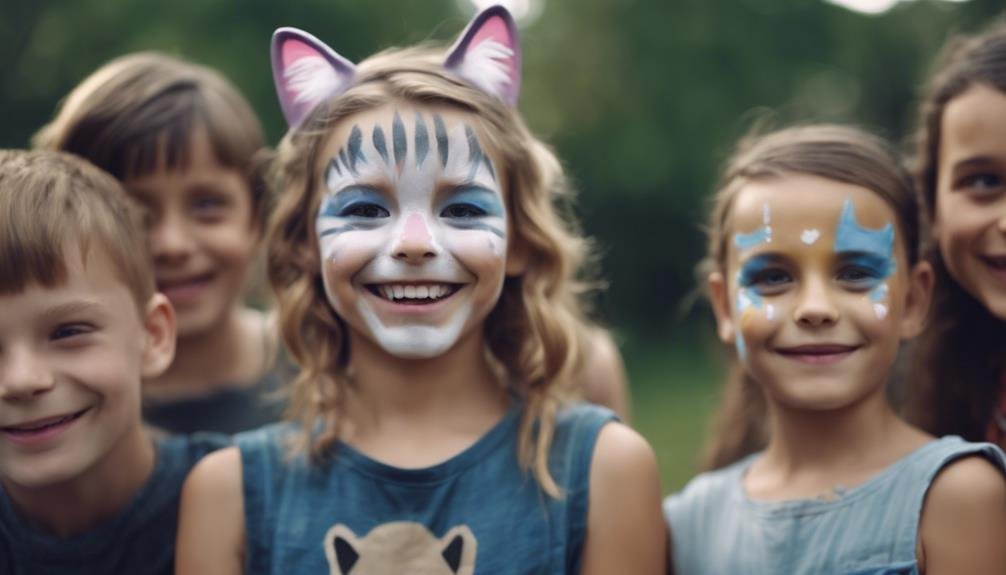
Share your impressive cat face paint creation on social media platforms like Instagram to showcase your skills and creativity. Utilizing effective social media strategies can help you reach a wider audience and engage with the face painting community. Consider joining online groups or communities to connect with other artists and enthusiasts, fostering creative collaborations and showcasing your talent. Tagging face painting brands in your posts can increase your visibility and even lead to potential features on their pages. Don't forget to use relevant hashtags like #facepainting, #catface, and #facepaintartist to enhance discoverability. Collaborating with fellow face painters can provide inspiration and valuable feedback on your cat face paint designs, contributing to your growth as an artist. By actively participating in the online face painting community and sharing your work, you can establish a strong presence and build a supportive network of like-minded individuals.
| Social Media Strategies | Community Engagement | Creative Collaborations |
|---|---|---|
| Use relevant hashtags | Join online communities | Collaborate with other artists |
| Tag face painting brands | Connect with enthusiasts | Seek feedback and inspiration |
| Share your work regularly | Engage with the community | Showcase your talent |
Frequently Asked Questions
How to Do Easy Cat Face Paint?
For an easy cat face paint, choose colors like white, pink, and black. Employ techniques such as feather strokes for fur and thin brushes for detailing. Shape the face with whiskers near the cheeks, and you're ready to go!
How Do You Draw a Cat Face for Beginners?
To draw a cat face for beginners, start by using white paint for the base. Use split cake paint for ears and thin brushes for details. Add nose, lips, and whiskers with precision. Finish with pink dots for flair.
How Can I Make My Face Look Like a Cat?
To make your face look like a cat, start with cat makeup for a feline transformation. Add whiskers for a purrfect touch. Use a cat eye tutorial for mesmerizing eyes and meow lips. You'll be ready to pounce in no time!
How Do You Paint a Cat's Nose on Your Face?
To paint a cat's nose on your face, start by dabbing white paint for the base. Add pink to cheeks and nose tip for a realistic look. Use black for whiskers and ears. Practice blending and detailing for a cute, realistic cat nose.
Conclusion
To sum up, mastering the art of cat face painting requires practice, patience, and the right supplies.
By following a step-by-step tutorial, adding detailed features, and blending colors effectively, you can create a realistic cat face design.
Remember to share your creation with others to showcase your skills and creativity.
With dedication and attention to detail, you can achieve stunning cat face paint looks that will impress everyone around you.
Happy painting!
