To face paint a cat, start by applying white paint at the center of the face and above each eyebrow for the base. Blend well and extend over the eyelids. Define the ears with split cake paint, adding depth with thicker bases and fur details. Use black for outlining facial features and pink for details. Finish with whiskers for realism and glitter for sparkle. Further instructions will help you create a lifelike feline design.
Key Takeaways
- Use white paint to create a base for a realistic cat face.
- Define the cat's ears with split cake paint for a detailed look.
- Detail facial features with black outlining, pink details, and white highlights.
- Define the nose prominently with black paint and add whiskers realistically.
- Finish with black lip outlining, pink accents, and glitter for a sparkly touch.
Preparation and Base Application
Are you prepared to metamorphose into a feline masterpiece? Begin by applying white paint on the center of your face and above each eyebrow, blending the edges for a flawless look. Utilize blending techniques to guarantee a smooth shift between the white paint and your natural skin tone. This step is essential for achieving a realistic cat face.
Once you have the white base, use a sponge to soften the paint and extend it over your eyelids, creating the foundation for your cat eye makeup.
For the cat eye makeup, consider using black paint to outline the shape of a cat's eye, elongating it slightly for a striking effect. Blend the black paint with the white base to create a seamless change. The cat eye makeup will be the focal point of your transformation, so take your time with this step to perfect the look. Remember, precision is key when it comes to achieving the ideal cat eye makeup.
Painting the Cats Ears
Ready to bring your cat metamorphosis to life? Start by using an angled brush and split cake paint to define the top edge of the cat's ear for a realistic appearance. Begin by creating a thicker base near the head and gradually thinning it out towards the top of the ear to replicate the natural shape of a cat's ear. To add depth and texture, switch to a thicker brush to blend fur details between the ears, starting with pink on top and creating zigzag lines for a realistic fur texture.
For ear shading, use a thin brush to outline the ear and create feathering strokes for a wispy effect. Blend these strokes using a fluffy brush to achieve a soft and realistic appearance. When it comes to color choices, opt for shades that mimic the cat's natural ear colors, such as pinks, browns, and blacks. Add pink dots and markings for extra detail, enhancing the overall look of your cat face painting design. Practice blending techniques to guarantee a seamless shift between colors and textures, bringing your cat's ears to life with depth and dimension.
Detailing the Facial Features

To improve the cat face painting design, delicately outline the facial features with a thin brush to add dimension and depth. When detailing the facial features of the cat, it is crucial to choose the right colors and utilize specific brush techniques to achieve a realistic and intricate look. Here is a guide to help you master this step:
| Color Selection | Brush Techniques |
|---|---|
| Black: for outlining | Thin brush for precision |
| Pink: for details | Fluffy brush for blending |
| White: for highlights | Liner brush for whiskers |
Defining the Nose and Whiskers
How can you enhance the cat face painting by defining the nose and whiskers with precision and attention to detail?
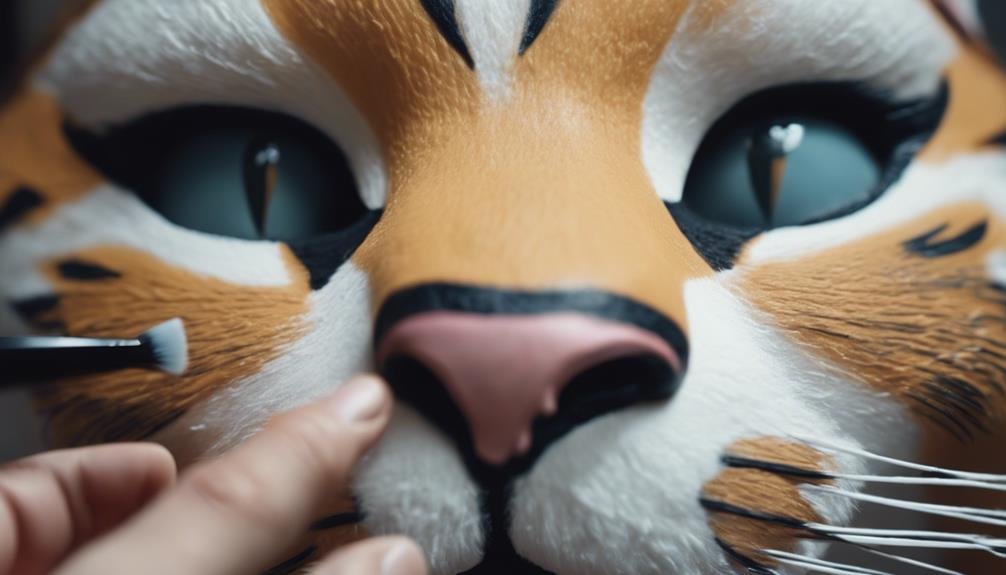
Start by using black paint to define the cat's nose, creating a prominent and realistic feature that stands out. Pay attention to the nose color to make sure it complements the overall look of the face paint.
Next, grab a thin liner brush to add whiskers that extend from the muzzle, aiming for a lifelike effect that adds depth to the design.
When placing the whiskers, incorporate them in varying lengths and angles to give the cat a more realistic appearance. For a balanced and symmetrical look, add whiskers in small groups on each side of the muzzle. Make sure to space them evenly and angle them outward to enhance the feline features of the face paint.
Adding Final Touches and Sharing

Consider enhancing your cat face painting with final touches and sharing your masterpiece with others by adding intricate details and posting your creation on social media platforms like Instagram. To take your cat face painting to the next level, try the following final touches:
- Outline the bottom lip: Define the shape with black paint and add contrast.
- Blend the black paint: Create a seamless and balanced look on the lip.
- Add pink dots and markings: Enhance the design for a playful touch.
- Ensure detailed features: Complete the one-stroke cat face painting by making all features cohesive.
- Adding glitter accents: Elevate your cat face painting by incorporating glitter accents for a touch of sparkle.
After perfecting your cat face painting, don't forget to share your creation on Instagram. Sharing your work can help you connect with others, receive feedback, and even inspire fellow face painters. Additionally, consider sharing face painting tips and tricks to engage with a broader community of artists and enthusiasts.
Frequently Asked Questions
How Do You Paint a Simple Cat Face?
To paint a simple cat face, start by shaping the face with white paint. Add whiskers and define the ears with split cake paint for fur texture. Use different brushes for detailing. Finish with black outlines, pink dots, and markings for a complete design.
How Do You Draw a Cute Cat Face Easy?
To draw a cute cat face easy, gather cat face painting supplies. Use cat face painting techniques like starting with a white base, adding split cake paint for ears, and finishing with whiskers and pink markings. Blend for a charming look.
How Do You Make a Cat Face With Makeup?
To make a cat face with makeup, start by drawing cat ears and whiskers. Define cat eyes and a cat mouth with precision. Blend colors for a realistic look. Add black outlines and pink accents for detail.
How Do You Paint a Cat's Nose on Your Face?
To paint a cat's nose on your face, start by filling in the underside with black paint. Use a thin brush for depth, add a white dot for dimension, and finish by drawing whiskers. Experiment with colors to match your face shape.
Conclusion
Now that you have learned how to face paint a cat, you can impress your friends and family with your artistic skills.
Remember to practice and experiment with different colors and techniques to create unique cat designs.
Have fun and enjoy the process of bringing feline faces to life with your face painting skills.
Share your creations with others and inspire them to try their hand at face painting too.
Happy painting!
