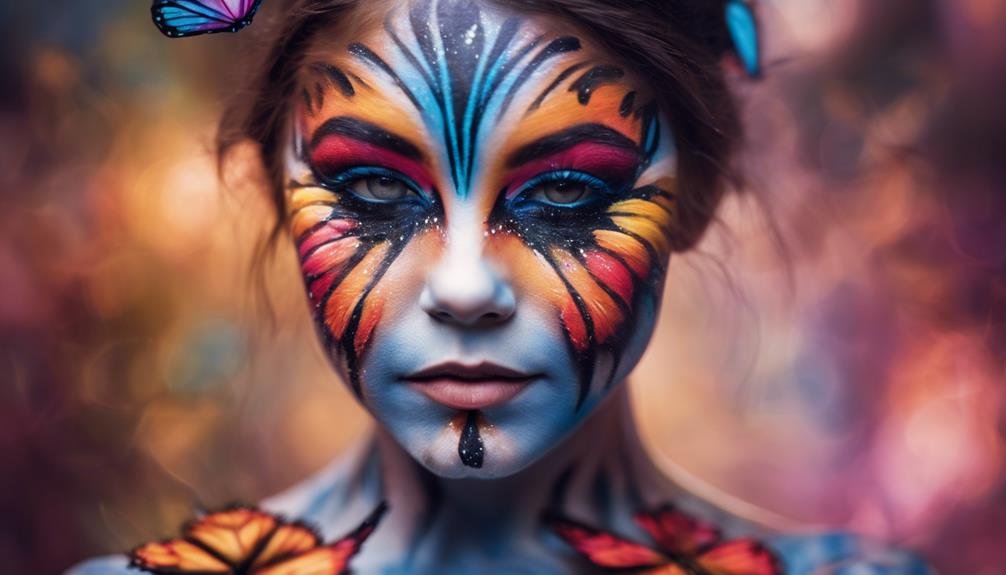
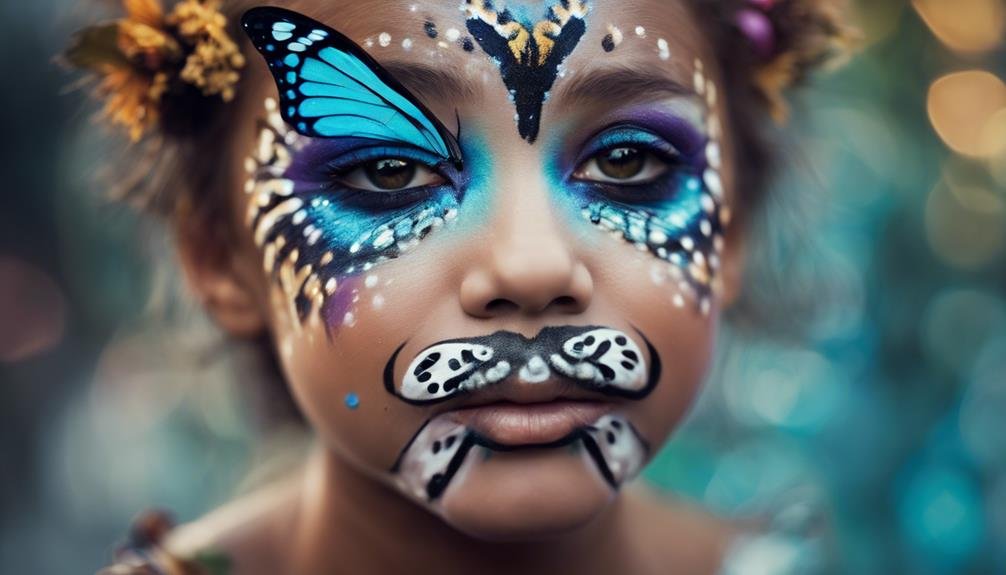
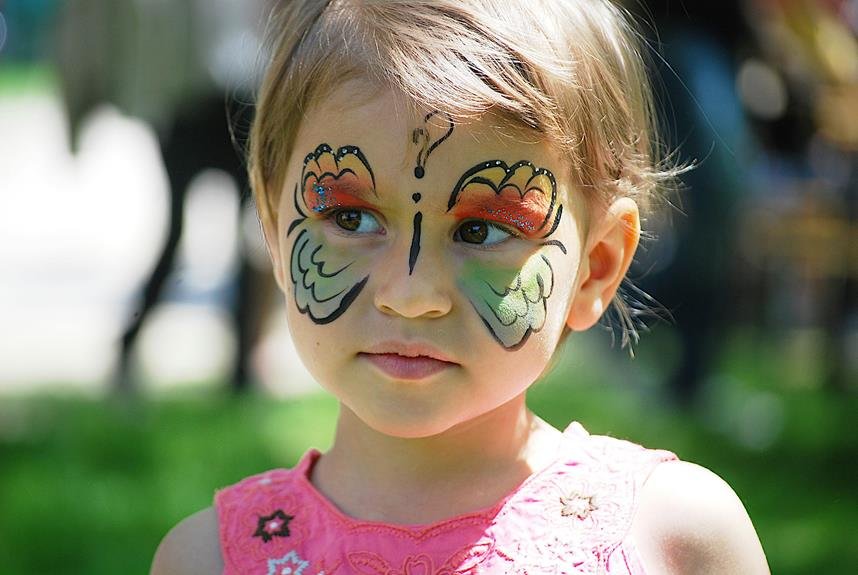
To face paint a butterfly, gather a Fantasy Face Paint Kit with essential colors like pink, blue, and green. Use an angled brush for outlining and round brushes for details and dots. Begin by outlining wings with vibrant colors, then fill them in with a sponge. Experiment with blending and color choices. Add body details with split cakes and create unique patterns around the wings. Enhance the design with color blending techniques, intricate details, and glitter accents. Finish by applying glitter and maintaining clean brushes for consistent results. Discover more ways to perfect your butterfly face painting skills by exploring additional techniques.
Key Takeaways
- Use vibrant colors and seamless blending for magical wings.
- Add body details like triangles and tails for realism.
- Incorporate intricate details and glitter accents for texture.
- Experiment with color combinations to enhance the design.
- Focus on smooth color shifts and proper glitter application for a polished finish.
Materials Needed for Butterfly Face Painting
To start face painting a butterfly, you'll need a Fantasy Face Paint Kit priced at $14.85. This kit provides you with essential colors like fuchsia pink, sky blue, purple, blue, green, yellow, and red commonly used for butterfly face painting. Additionally, investing in the Ultimate Party Pack for $22.65 can enhance your butterfly face paint design with more color options and tools.
When it comes to face paint techniques for butterflies, using an angled brush for outlining, a number two round brush for intricate details, and a number four round brush for creating delicate dots are essential. These tools allow you to achieve the intricate patterns and designs that make butterfly face paint truly captivating.
For butterfly face paint inspiration, consider looking at real butterflies in nature or online images. Observing the vibrant colors and unique patterns of butterflies can provide you with ideas and guidance for your own butterfly face paint creations. Remember to add a touch of glitter and use clean sponges for those finishing touches that will make your butterfly design pop.
Step-by-Step Guide to Painting Butterfly Wings
When painting butterfly wings, start by outlining them with vibrant colors like fuchsia pink or sparkly lilac. This initial step sets the foundation for your design and helps create a striking visual impact.
Once the outlines are in place, use a sponge to fill in the wings with additional colors such as sky blue or sparkle blue. Blending these colors seamlessly will give your butterfly wings a magical and ethereal appearance.
Experiment with different color choices to find the perfect combination that suits your style and the overall look you want to achieve. Remember to pay attention to wing blending techniques to guarantee a smooth flow between colors for a professional finish.
Adding Body Details and Additional Colors

Consider enhancing the butterfly face paint by incorporating detailed body elements and introducing additional colors. To elevate your design, follow these steps:
- Use a second split cake to add a triangle below the body start for additional body details.
- Create interior sections around the wings using the colors from the split cake for unique patterns and shading techniques.
- Extend the body of the butterfly by painting tails with a dark blue color for a realistic look and introduce color variations.
These body embellishments and color variations will add depth and intricacy to your butterfly face paint. By utilizing shading techniques and incorporating different colors, you can achieve a more dynamic and visually appealing final look. Remember to blend the colors seamlessly and pay attention to details for a polished finish. These additions will complement the intricate wing design and elevate the overall appearance of your butterfly face paint.
Enhancing the Butterfly Design With Details
Enhancing the butterfly design with intricate details can elevate the overall aesthetic appeal of your face painting creation. To make your butterfly design truly stand out, consider incorporating color blending and wing texture techniques. Experiment with different color combinations on the wings to create a vibrant and eye-catching look. Use a brush to blend colors smoothly, creating a gradient effect that adds depth and dimension to the wings. Additionally, focus on enhancing the wing texture by adding details like white dots for a whimsical touch or using black paint to outline intricate patterns or swirls.
To help you visualize these techniques, here's a table showcasing some ideas for enhancing your butterfly face paint design:
| Technique | Description |
|---|---|
| Color Blending | Blend different colors on the wings to create a gradient effect. |
| Wing Texture | Add intricate details like white dots or black outlines for added texture. |
| Glitter Accent | Incorporate glitter on the wings to make them shimmer and stand out. |
Finishing Touches and Tips for Face Painting

To achieve a polished and professional look for your face painting design, focus on adding the final touches and implementing key tips. When finishing your butterfly face paint, consider the following:
- Blending Techniques and Color Choices: Utilize blending techniques to create smooth shifts between colors on the wings of your butterfly. Select a harmonious color palette that complements each other for a visually appealing result.
- Glitter Application: Enhance the magical look of your butterfly design by applying glitter to the wings. To guarantee proper adherence and prevent fallout, gently press the glitter onto the painted surface. When reapplying glitter, make sure the base is clean to maintain a pristine finish.
- Brush Care: After completing your face painting project, remember to clean and maintain your brushes properly. Keeping your tools in good condition ensures they're ready for your next creative endeavor. Regular brush care prolongs their lifespan and helps you achieve consistent results in your face painting endeavors.
Frequently Asked Questions
How Do You Paint a Perfect Butterfly?
To paint a perfect butterfly, start with vibrant colors for the wing patterns. Use face painting techniques like sponges and stencils for detailed wings. Add black outlines and white dots. Finish with glitter for sparkle.
How Do You Start Face Painting for Beginners?
Start face painting for beginners by practicing techniques like outlining, sponging colors, and adding details. Experiment with color blending for unique designs. Watch tutorials and join communities to improve. Enjoy learning and creating!
How to Do Rainbow Face Paint?
To do rainbow face paint, start by choosing vibrant colors and using blending techniques. Apply paint with brush strokes that complement face shapes. Add sparkle for a magical touch. Enhance details with black outlines and white dots.
How Do You Paint a Tiger Face?
To paint a tiger face, start with orange base color, add black stripes for the animal patterns. Use white for highlights and facial details. Blend well for a realistic look. Finish with glitter for sparkle.
Conclusion
Now that you have learned how to face paint a butterfly, remember to practice and experiment with different colors and designs to create your own unique butterfly creations.
Don't be afraid to add your own personal touch and have fun with it. With patience and practice, you can master the art of face painting and create beautiful butterfly designs that will impress everyone around you.
Enjoy exploring your creativity and sharing your face painting skills with others!
