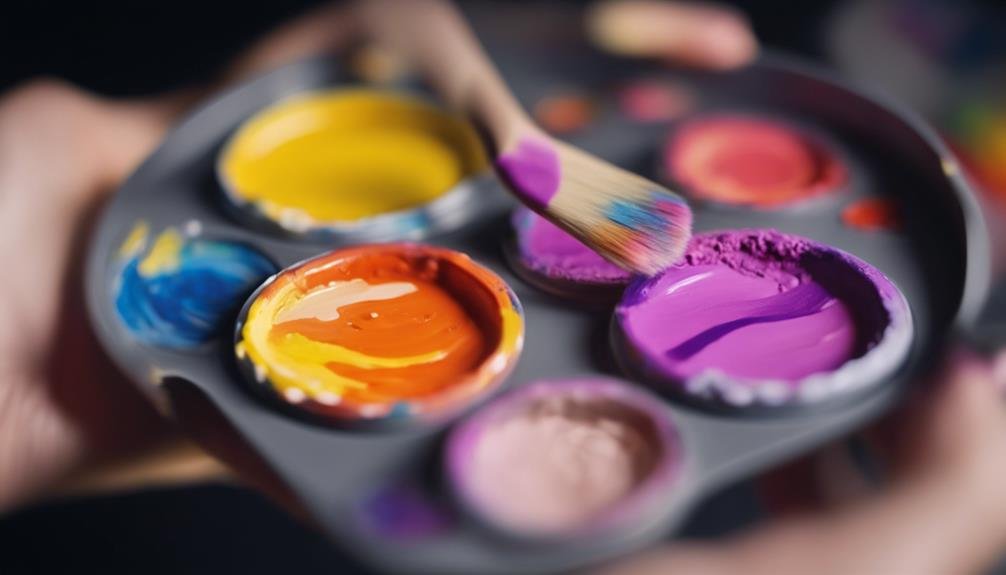
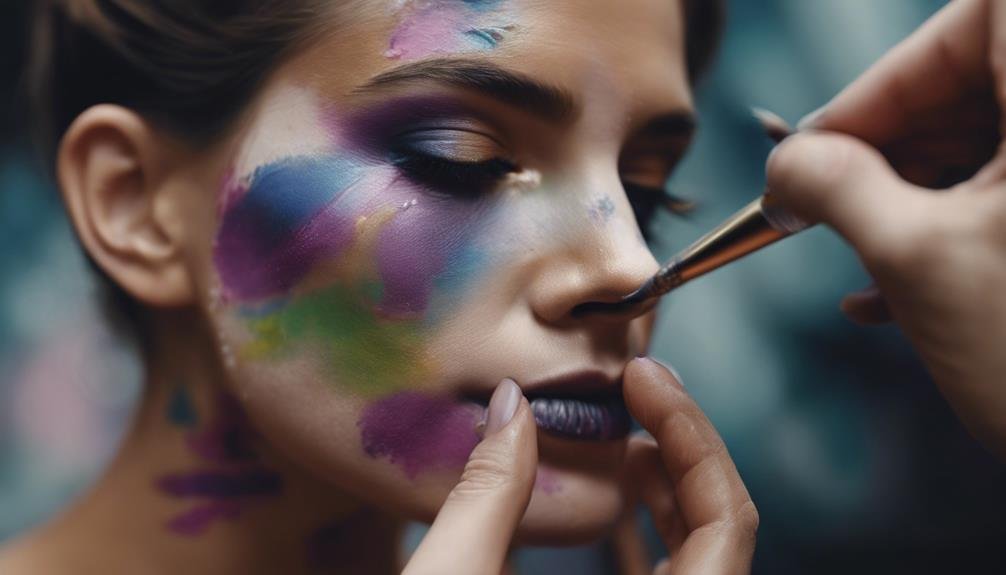
To apply face paint smoothly, start with clean, moisturized skin. Choose high-quality products like Snazaroo for vibrant colors. Use a damp sponge to create a smooth base coat, patting gently for even coverage. Experiment with blending light colors over dark and layering for depth. Utilize fine-tipped brushes for intricate details and metallic paints for dimension. Remember to practice blending techniques and proper activation of your face paint for the best results. Mastering these techniques will help you achieve a flawless face paint application. Additional tips and techniques can further enhance your skills in creating stunning designs.
Key Takeaways
- Use high-density sponges for a smooth base coat.
- Layer light colors over dark for dimension.
- Pat the sponge on paint for flawless application.
- Control water amount for correct consistency.
- Experiment with different brush sizes for varied effects.
Choosing the Right Face Paint Products
When selecting face paint products, choose Snazaroo for high-quality, vibrant colors that are gentle on your skin. Snazaroo offers a wide range of colors, including metallic and glitter options, allowing you to select the perfect shades for your face painting designs. Before applying the face paint, make sure your skin is clean and moisturized for a smooth application. Consider using a setting spray after painting to help the colors last longer and prevent smudging.
When it comes to brush types, different brushes serve various purposes in face painting. For detailed work, use a thin, pointed brush, while a flat brush is ideal for covering larger areas. Experiment with various brush sizes to find what works best for your desired designs. Snazaroo face paints are water-based, allowing for easy application and blending with different brushes.
Preparing Your Face Paint Tools
To achieve a flawless face paint finish, make sure your high-density sponges are ready for applying a smooth base coat. Before starting, confirm your tools are clean by washing your sponges and brushes with mild soap and water. Properly cleaning tools prevents old paint residue from affecting your new application. Once clean, let them air dry completely to avoid any moisture altering the consistency of your face paints. Additionally, store your tools in a clean and dry place to prevent dust or debris from contaminating them.
Having fresh water on hand is essential for rinsing your tools during the face painting process. This allows you to switch between colors without muddying them. Remember to keep your brushes and sponges separate when storing them to maintain their individual cleanliness. By taking these simple steps to prepare your face paint tools, you set yourself up for a smooth and successful painting experience.
Activating the Face Paint

Activate your face paint cake by lightly misting it with a spray bottle. This mist technique helps in activating the colors without making the paint overly wet, ensuring a smooth finish.
It's essential to find the right balance so that the paint is moist enough for easy application but not too wet that it becomes runny. When picking up the colors with your sponge, gently pat it on the paint instead of rubbing to prevent streaks and achieve a flawless look.
Controlling the amount of water you use is key to maintaining the correct consistency of the face paint, which is vital for a seamless application. By activating the face paint correctly, you set yourself up for success in creating your desired look with precision and ease.
Applying the Base Coat
For a seamless foundation, start by applying a smooth primer of high-quality face paint using a sponge on your clean, dry skin. Choose your colors thoughtfully; consider layering white underneath vibrant hues to make them stand out more vividly. When applying the primer, use gentle patting motions with the sponge to guarantee even coverage and prevent streaks. The key is to blend the colors seamlessly, so the changes are smooth and natural. Utilize the rounded edge of the sponge to blend out any harsh lines or edges in the primer, creating a professional finish.
Experiment with loading multiple colors onto the sponge to create gradient effects and unique designs. By mastering sponge application and primer blending techniques, you can achieve a flawless canvas for your face paint creations. Remember, the primer sets the stage for the rest of your design, so take your time and make sure it's applied evenly and flawlessly.
Blending and Layering Techniques

When merging and overlaying face paint, make sure to use a clean, damp sponge for smooth color changes on your skin. Begin by layering light colors over dark ones to create depth and dimension in your designs. This technique helps in color mixing and highlighting shadows effectively. Remember not to overload the sponge with paint, as this can lead to a cakey or streaky finish. Before applying the paint to your skin, practice blending techniques on a palette or paper to perfect your skills.
Experiment with different blending tools such as brushes or stippling sponges to achieve unique effects in your face paint designs. Each tool can create a different texture and finish, allowing you to explore various artistic possibilities. By mastering blending and layering techniques, you can smoothly shift between different colors and create beautifully blended face paint looks that stand out.
Adding Intricate Details
To enhance the intricacy of your face paint design, utilize a fine-tipped brush for adding detailed swirls, dots, and outlines. Detailing techniques play an essential role in achieving a professional finish. Practice precision tips by maintaining a steady hand to create intricate designs with finesse.
Experimenting with different brush sizes allows you to vary the thickness of lines, adding depth to your artwork. For a more refined look, consider incorporating metallic or shimmer paints into your intricate details. These paints can provide an added dimension and visual interest to your design.
When blending colors, do so strategically to create depth and dimension in intricate designs, giving your face paint a touch of realism. By mastering these techniques, you can elevate your face paint creations to a whole new level of artistry and sophistication.
Frequently Asked Questions
How Do You Smooth Face Paint?
To smooth face paint, you employ blending techniques and set with spray. Choose colors wisely and master brush strokes. Use a high-density sponge, pat gently, and avoid pressing too hard. Experiment with different sponge shapes for the best results.
How Can I Make Face Paint Easier to Apply?
To make face paint easier to apply, start by prepping your skin with moisturizer. Use quality paint like Snazaroo for seamless blending. Apply a thin white base. Opt for high-density sponges. Pat gently for a pro finish.
How Do I Make Sure My Face Paint Doesn't Rub Off?
To guarantee your face paint doesn't rub off, utilize a setting spray or powder for protection. Apply primer and let it dry before painting. Refrain from touching the design to prevent smudging. Embrace blending techniques for a smooth finish.
How Do You Make White Face Paint Smooth?
For smooth white face paint, master blending techniques. Use a high-quality white paint and apply a thin layer with a damp sponge. Set it with powder for long-lasting wear. Blend gently for flawless changes and a professional finish.
Conclusion
To sum up, applying face paint smoothly requires choosing the right products, preparing your tools, activating the paint, applying a base coat, using blending and layering techniques, and adding intricate details.
By following these steps and practicing your technique, you can achieve professional-looking results. Remember to take your time, be patient, and have fun experimenting with different designs and styles.
With practice and dedication, you'll be able to create stunning face paint looks that will impress everyone around you.
