To face paint scars realistically, gather red, brown, black, and white face paint. Cleanse and moisturize the skin before painting. Apply a crimson base for the scar. Use black paint for shadowing along the scar edges. Blend carefully for depth. Add fake blood for authenticity and experiment with white paint for highlights. Finish with special effects makeup for a professional look. Embrace creativity to enhance your designs. For more in-depth guidance on face painting scars, consider exploring advanced techniques and professional tutorials.
Key Takeaways
- Start with a vivid crimson base for scars.
- Add shadows with black paint for depth.
- Blend carefully to create a natural look.
- Consider using fake blood for authenticity.
- Use white paint for highlights and finishing touches.
Materials Needed
Gather the necessary materials for face painting scars, including face paint in red, brown, black, and white colors to achieve realistic scar placement and color choices. Utilize various sized brushes for detailing to add depth and texture, mastering blending techniques for a lifelike effect. If desired, incorporate fake blood for an extra touch of authenticity. Remember to have water on hand for mixing colors effectively and achieving the right consistency for painting scars. Paper towels are essential for cleaning brushes between color changes, ensuring a neat workspace and precise application.
When painting scars, focus on blending the red, brown, black, and white colors seamlessly to create realistic textures. Experiment with different brush strokes and layering techniques to achieve depth and dimension in your designs. Emphasize the importance of paying attention to detail when placing scars on the face, considering how they'd naturally appear for a more authentic look. By mastering these techniques and utilizing the right materials, you can create stunning and believable scar designs.
Preparing the Skin
Before you start painting scars, it's crucial to properly prepare the skin to guarantee a smooth and comfortable application. Ensuring your skin is clean and dry is the first step towards a successful face paint session. Use a hypoallergenic moisturizer to hydrate your skin and create a protective barrier between the paint and your skin. This helps in preventing any potential allergic reactions and keeps your skin moisturized throughout the process. Remember, it's important to avoid painting over any open wounds, cuts, or irritated skin to prevent discomfort and reactions. Conduct a patch test on a small area of your skin to check for any allergic reactions to the face paint before applying it more widely. After you've finished painting, gently remove the face paint with makeup remover or mild soap and water to avoid any skin irritation. Take care of your skin to ensure a safe and enjoyable face painting experience.
| Skin Preparation | |
|---|---|
| Cleanse Skin | Ensure your skin is clean and dry before applying face paint. |
| Skin Hydration | Use a hypoallergenic moisturizer to keep your skin hydrated and create a barrier between the paint and your skin. |
| Allergic Reactions | Conduct a patch test on a small area of skin to check for any allergic reactions to the face paint. |
| Avoid Irritated Skin | Do not paint over open wounds, cuts, or irritated skin to prevent discomfort and reactions. |
| Makeup Removal | Gently remove the face paint with makeup remover or mild soap and water to avoid skin irritation. |
Applying Red Base

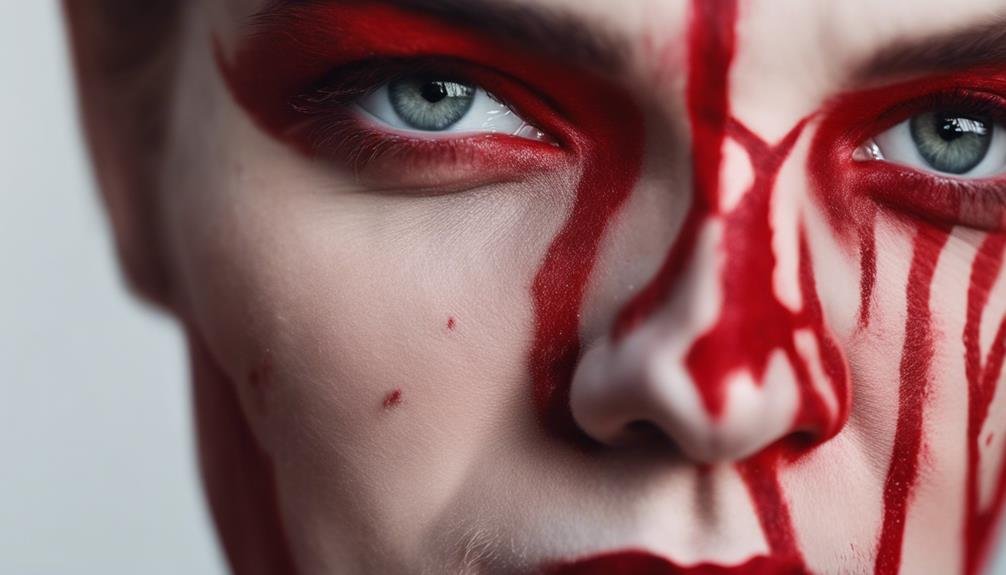
To create a realistic scar design, start by applying a vivid crimson base color evenly using a brush. Choose a vivid red hue that resembles the look of fresh wounds. Make sure to cover the desired area thoroughly with the red face paint to establish a solid foundation for the scar effect.
The red base will give the illusion of raw and bloody skin, adding depth to your design. Using blending techniques can help achieve a smooth and seamless blend between the red base and the surrounding skin, enhancing the overall realism of the scar. Opt for an opaque and vivid red color to make sure that the scar looks authentic and stands out.
Allow the red base to dry completely before moving on to adding depth and shadows to further enhance the scar design. Remember, the key to a convincing scar is in the initial application of the red base.
Adding Depth and Shadows
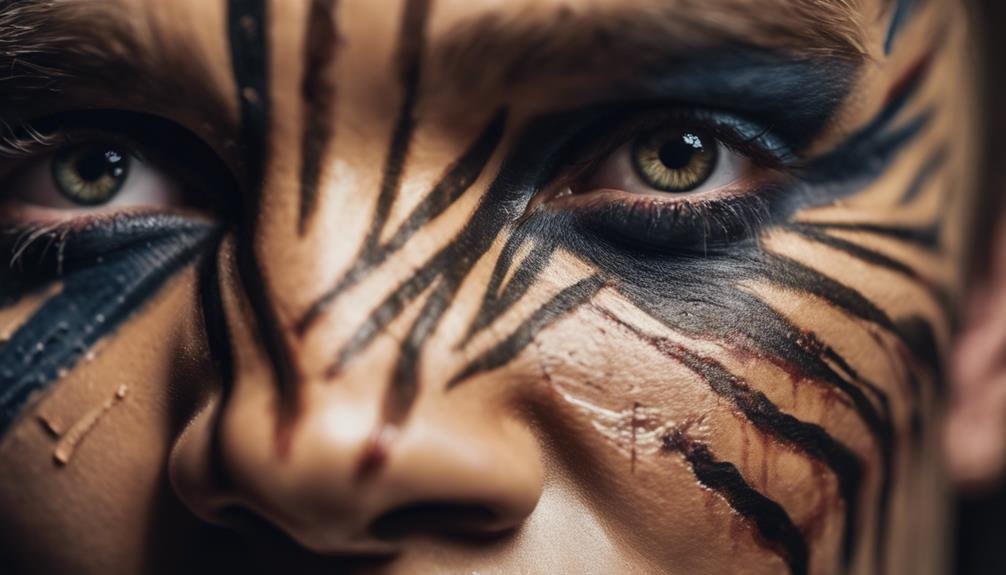
For a more realistic effect, consider using a thin brush with black paint to add shadows along the edges of your scar design. Applying black paint strategically can add depth and make the scars look more important and necessary.
Shadows play a critical role in creating the illusion of depth, giving the impression that the scars are either raised or sunken into the skin. To achieve this effect, it's vital to blend the black paint carefully. By using a blending technique, you can avoid creating harsh lines and maintain a natural look.
Adding shadows around the scars not only enhances the overall 3-dimensional effect of the face paint design but also brings a sense of realism to your creation. Remember to take your time with this step, as subtle shadows can make a significant difference in how authentic your scar design appears on the skin.
Finishing Touches

Consider incorporating fake blood for an extra authentic and gory effect, adding a chilling final touch to your scar design. To achieve realistic effects, experiment with blending techniques using white paint to enhance depth and texture. Additionally, special effects like fake blood can take your Halloween makeup to the next level, creating a truly haunting look. When applying finishing touches, remember that essential strokes and a steady hand are vital, especially when working on sensitive areas like the face.
| Blending Techniques | Special Effects |
|---|---|
| – Use white paint for added realism | – Experiment with fake blood for a gory effect |
| – Blend colors to create depth | – Consider using special effects makeup for a professional finish |
| – Practice gentle application | – Have fun with different Halloween makeup products |
| – Enjoy the creative process | – Embrace creativity and explore various styles |
Frequently Asked Questions
How Do You Paint Scars?
To paint scars, you blend colors for realistic effects. Experiment with scar techniques and textured looks. Customize scar placement for monster, pirate, or zombie costumes. Use red and black face paint, rigid collodion, and setting powder.
How Do You Draw a Scar on Someone's Face?
To draw a scar on someone's face, start by placing a red eyeliner pencil on the desired area. Create a jagged line for a realistic look. Add rigid collodion liquid, layering for depth. Pat with setting powder for texture and blending.
How Do You Paint a Fake Wound?
To paint a fake wound for realistic effects, blend red, brown, black, and white paints. Create depth with shadow and highlights. Experiment with techniques like subtle blending and fake blood for special effects. Test dryness before applying.
How Do You Make Fake Scars Realistic?
To make fake scars realistic, focus on scar texture by blending colors for depth. Use black for shadows and white for highlights. Mimic a natural wound effect by blending and dragging paint. Be gentle and add finishing touches for authenticity.
Conclusion
To sum up, face painting scars can be achieved with the right materials and techniques. By preparing the skin, applying a red base, adding depth and shadows, and finishing with details, you can create realistic looking scars for your costume or special effects makeup.
Remember to practice and experiment with different methods to find what works best for you. Have fun and get creative with your face painting designs!
